


DIY Neon Signs: Step-by-Step Guide
Quick Overview
Making a neon sign requires specialized tools like neon glass tubing, a tube bender, a torch for heating the glass, a vacuum pump, and electrodes to power the sign. The process can be expensive and dangerous, as it involves working with high-voltage electricity and high temperatures. If you’re a beginner, it’s recommended to start with simpler designs and consider alternative LED neon options for a safer and more affordable route.
The Basics of Neon Sign Making
Before you dive into creating your own neon sign, it’s important to understand the basics of neon tubing. Neon signs are made from glass tubes that are filled with a specific gas—usually neon or argon. When electricity is passed through the gas, it illuminates, producing that vibrant neon glow. It’s this process that makes neon signs so distinctive and iconic.
However, making real neon signs is no simple task, and it requires a fair amount of skill, patience, and equipment. While LED versions of neon signs are much easier to make, real neon involves bending glass and dealing with high voltages, which can be dangerous without the right experience and tools. If you’re just starting out, it’s recommended to begin with small, simple designs to gain the basic skills before tackling more complex projects.
Equipment You'll Need
Creating your own neon sign requires some specialized tools, and depending on your skill level and budget, you may need to either invest in certain items or look for alternatives. Here’s a list of essential equipment for creating neon signs:
Essential Tools:
-
Neon Glass Tubing: The primary material used in traditional neon signs. You’ll need to purchase it in various diameters depending on the scale of your design.
-
Tube Bender: This tool is crucial for shaping the glass tubing into the desired form. Bending neon tubes takes practice and skill.
-
Torch: A high-powered propane torch is needed to heat the glass and make it pliable for bending.
-
Vacuum Pump: A pump is required for removing air and filling the tubes with gas (neon or argon), which makes the glass light up when electricity is applied.
-
Electrodes and Power Supply: These are used to power the sign and make it glow.
-
Tube Supports: You’ll need these to keep the tube in place while you work.
Optional Tools:
-
Ribbon Burner: A more advanced tool that heats the glass uniformly along a section of the tube, making it easier to bend.
-
Pump and Manifold Setup: For sealing the gas into the tubes properly. This is a more advanced tool that requires knowledge of air pressure and glass sealing techniques.
Safety Gear:
-
Heat-Resistant Gloves: Handling hot glass requires protection.
-
Safety Glasses: Protect your eyes from intense light, heat, and flying glass shards.
The Process of Making a DIY Neon Sign
1. Design Your Sign
Start by sketching out the design for your neon sign. The simpler, the better, especially if you're a beginner. Basic geometric shapes or simple words are a good starting point. Keep in mind that more complex designs will require more skill and a deeper understanding of how to handle the glass.
2. Cutting the Neon Tubing
Cut the neon tubing to the desired length for your sign design. It’s essential to measure carefully and ensure that the tubing is long enough for the entire project but not too long to waste material.
3. Bending the Glass
This is where things can get tricky, especially if you're new to neon glasswork. The glass needs to be heated to a very specific temperature so that it becomes pliable and can be bent into shape. Using the tube bender and torch, you can begin bending the glass into your desired shape. For beginners, it’s best to start with simple curves and practice your technique before attempting sharper angles or intricate details.
4. Sealing and Filling with Gas
Once the glass has been shaped, the next step is to fill it with gas. The glass tube is evacuated of air, and a specific gas (usually neon or argon) is pumped in. Neon gas produces the classic red-orange glow, while argon gas can create other colors when used with phosphor coatings. This is where the use of a vacuum pump and appropriate equipment comes into play.
5. Adding Electrodes and Testing
Once your tube is filled with gas and sealed, you’ll need to attach electrodes at both ends of the tube. The electrodes are what allow electricity to flow through the tube, causing the gas inside to light up. After the electrodes are attached, you can connect the power supply and test your sign.
6. Mounting and Displaying Your Sign
Once your neon sign is fully assembled and tested, the next step is to mount it securely. Neon signs are typically mounted on acrylic or metal backing for support. Be sure to check the sign for any weak points in the tubing or wiring, as these can affect the longevity of your sign.
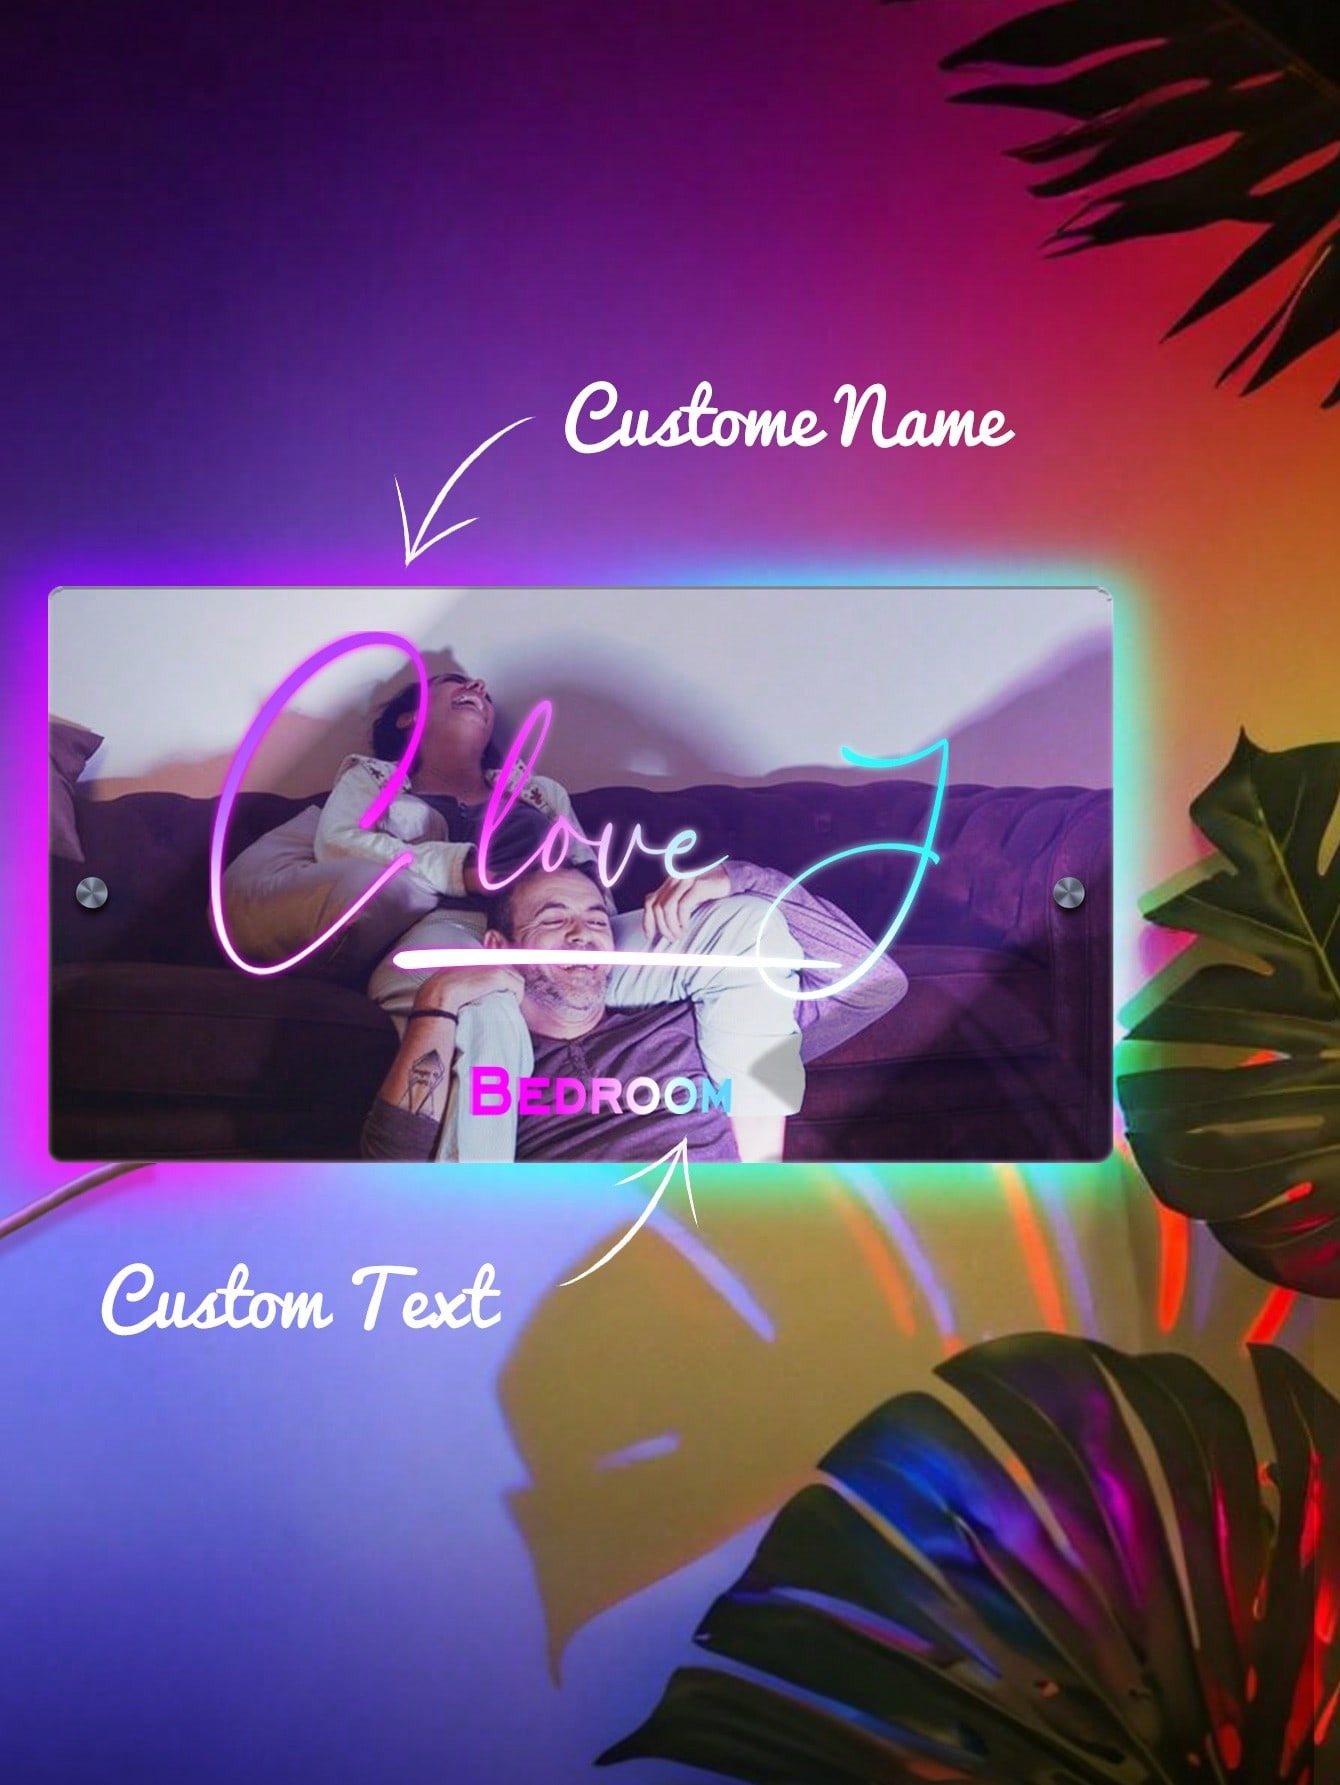
Explore Our Custom Neon Sign Collection Here
Common Challenges and Limitations
While making a neon sign is a rewarding experience, it’s not without its challenges. Here are some potential difficulties you might encounter:
High Equipment Costs
Professional neon sign-making equipment can be expensive. From the ribbon burner to the vacuum pump, the upfront investment can be a barrier for many hobbyists. It's also important to note that glass work is delicate, and any mistakes can result in broken glass or wasted materials.
Safety Concerns
Working with high-voltage electricity, open flames, and hot glass poses inherent risks. If you’re not familiar with handling these materials, it’s easy to make a mistake that could lead to burns, cuts, or even worse.
Skill and Experience
Neon sign-making is a highly skilled craft that takes time to master. As mentioned earlier, the bending process alone can take years to perfect. Without proper training or mentorship, it can be very difficult to create high-quality neon signs on your own.
Alternative: DIY LED Neon Signs
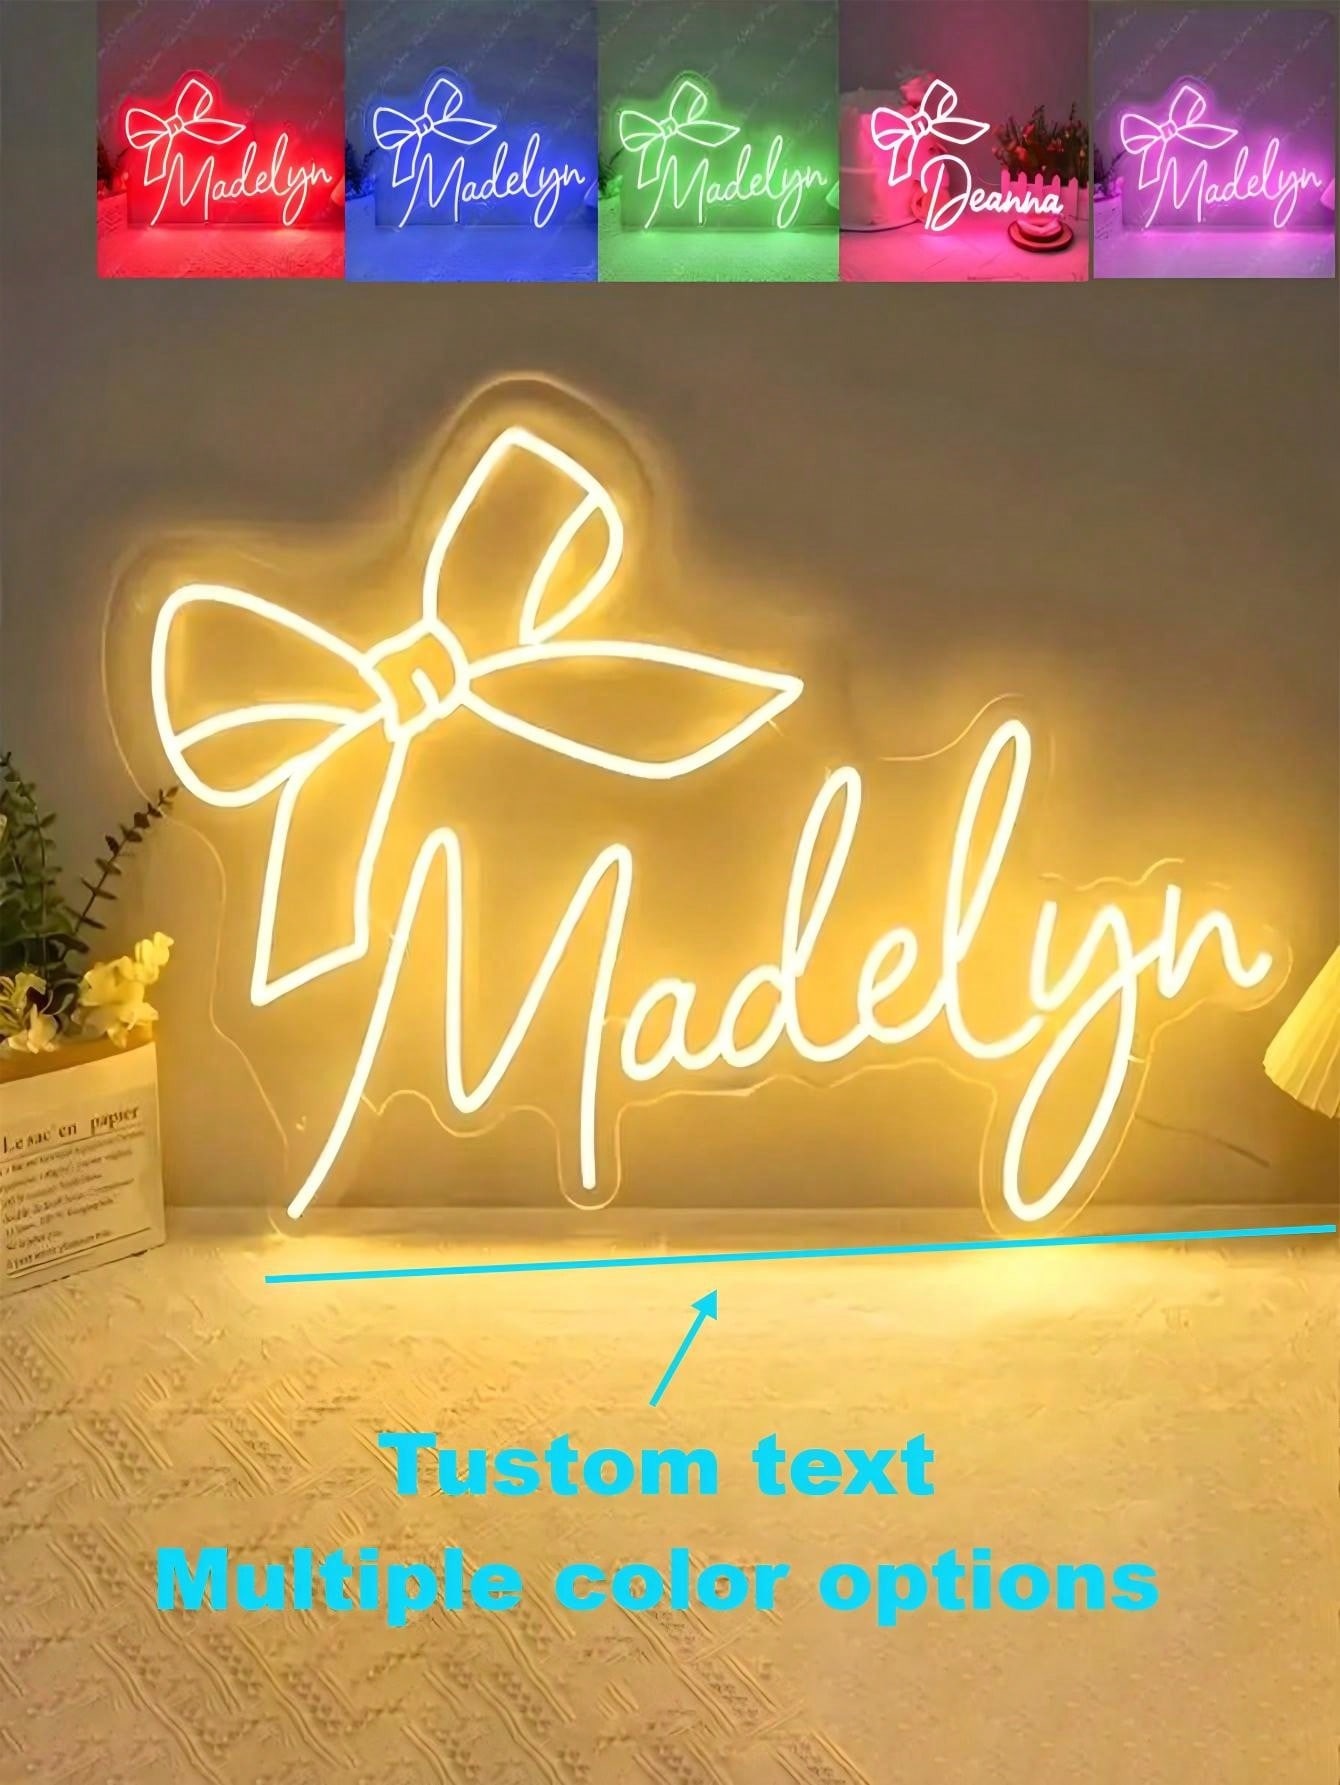
If you're looking for a more beginner-friendly approach, you can also create "neon" signs using LED strips. These signs are safer and easier to make, as they don’t require glass-blowing or dealing with hazardous materials. LED strips are flexible, affordable, and easy to work with, making them a good option for first-time creators or those on a budget.
Conclusion
Making a DIY neon sign can be an incredibly rewarding experience, but it’s important to approach it with the right expectations. While the process of bending glass and filling tubes with gas is fascinating, it’s not something you can learn overnight. If you're truly committed to learning this craft, you may want to consider taking a neon-making workshop or finding a mentor who can guide you through the process. Regardless, whether you choose to work with traditional neon glass or go the LED route, making your own custom neon sign is a fun and creative way to add personality to any space.
FAQ
1. Can I make neon signs at home?
Yes, with the right equipment and safety precautions, it’s possible to make neon signs at home. However, it requires significant skill, experience, and safety measures, particularly when working with glass and high-voltage electricity.
2. Is there a simpler alternative to making real neon signs?
Yes, you can create LED neon signs as a simpler and safer alternative. LED strips are much easier to work with and do not require the complex skills and equipment that traditional neon glass does.
3. How long does it take to learn how to make neon signs?
Learning how to make neon signs is a long process that can take several months or even years to master. It’s best to start with basic projects and gradually increase the complexity as you gain more experience.
4. Are there workshops for learning neon sign-making?
Yes, there are workshops and courses available that teach neon sign-making. These are a great way to learn the basics with the guidance of a professional.
For More Please Read: