

From Clutter to Curation: 5 Designer Secrets to a Gallery-Style Memory Wall
We all have those cherished moments—a laugh captured at a wedding, a blurry but perfect sunset from a road trip, or the tiny paws of a new puppy. We long to display them, yet many of us hesitate, fearing our walls will end up looking like a chaotic collage rather than a curated sanctuary.
A "Memory Wall" should feel like a high-end gallery, not a cluttered mess. If you are ready to transform your home into a space filled with stories without sacrificing your modern aesthetic, here are five professional design secrets to doing it right.
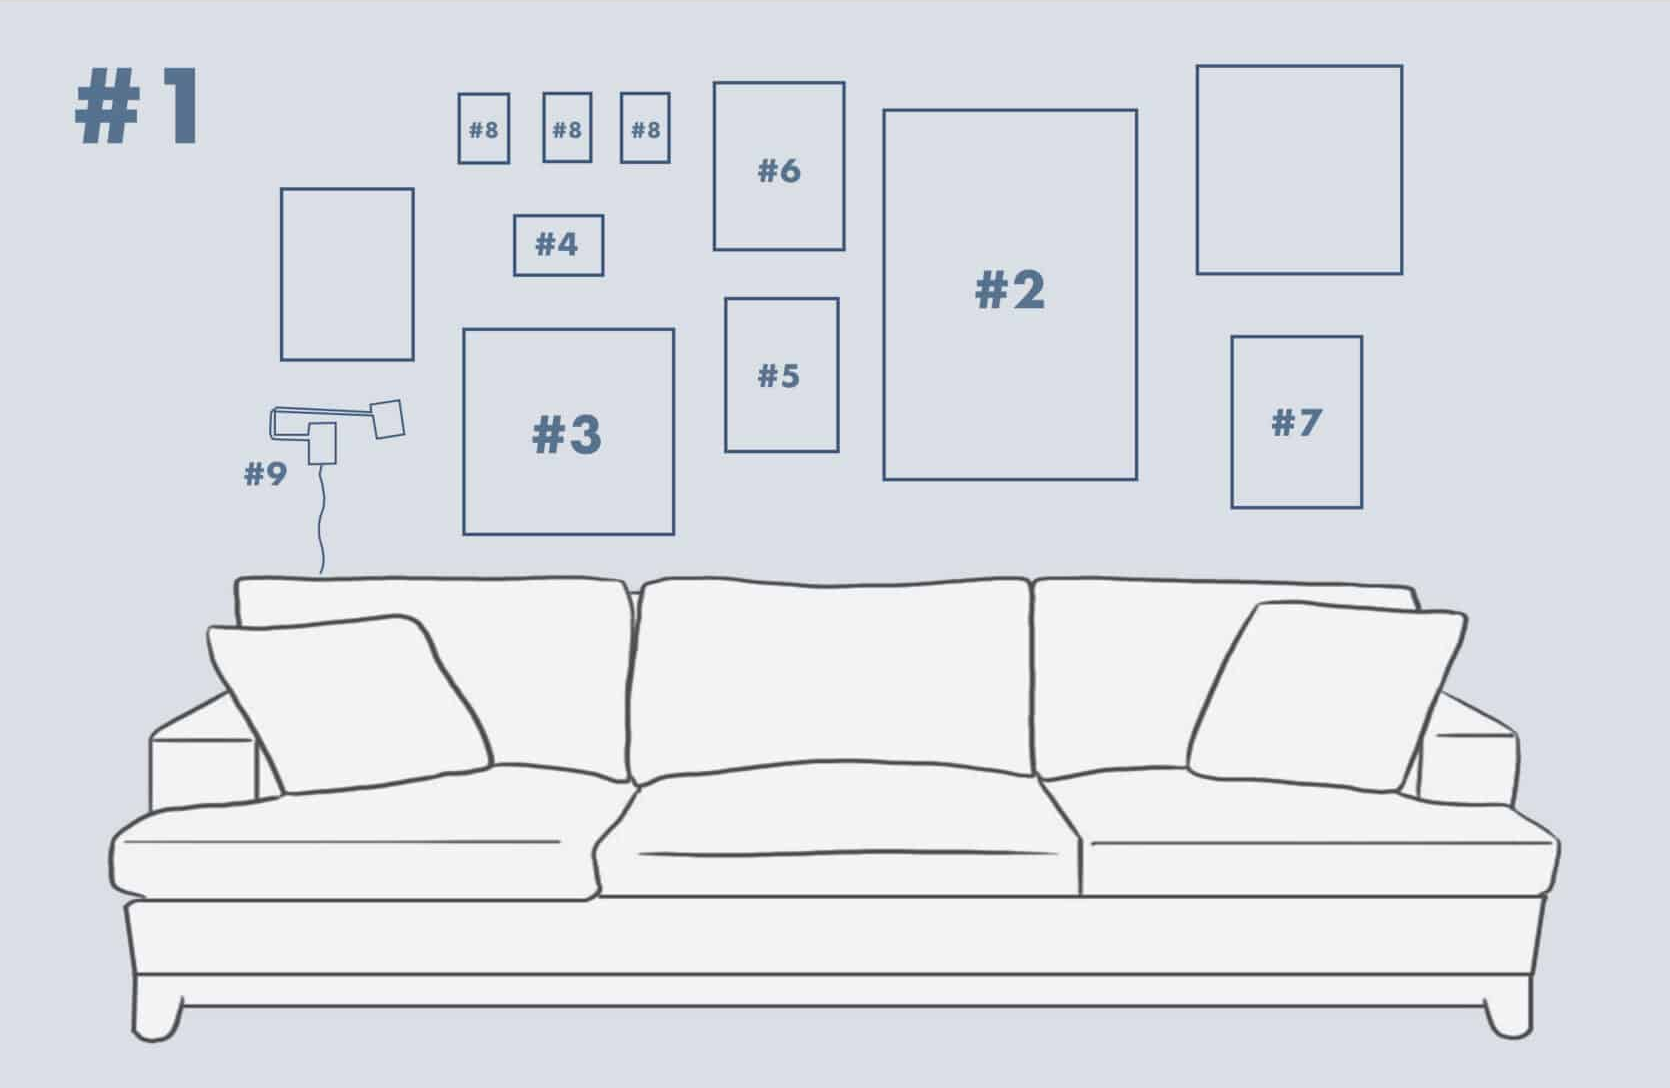
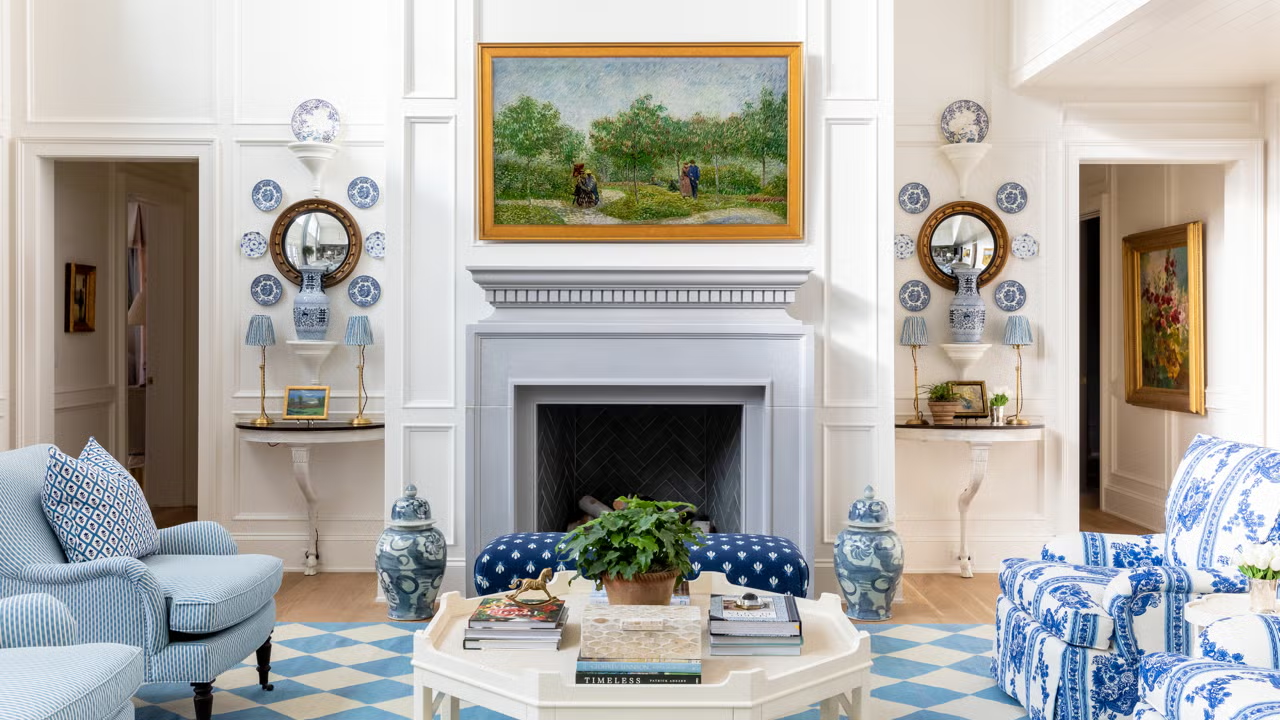
1. Establish a Visual Anchor
The most common mistake in DIY decor is starting with a dozen small items of equal size. Without a central point, the eye wanders aimlessly, creating a sense of "visual noise."
-
The Pro Tip: Choose one large, high-quality piece to be your Anchor. This piece should be approximately 20-30% larger than the surrounding elements.
-
Installation Hack: Before driving a single nail, cut out paper templates of your frames and tape them to the wall. This allows you to visualize the layout without leaving permanent holes.
-
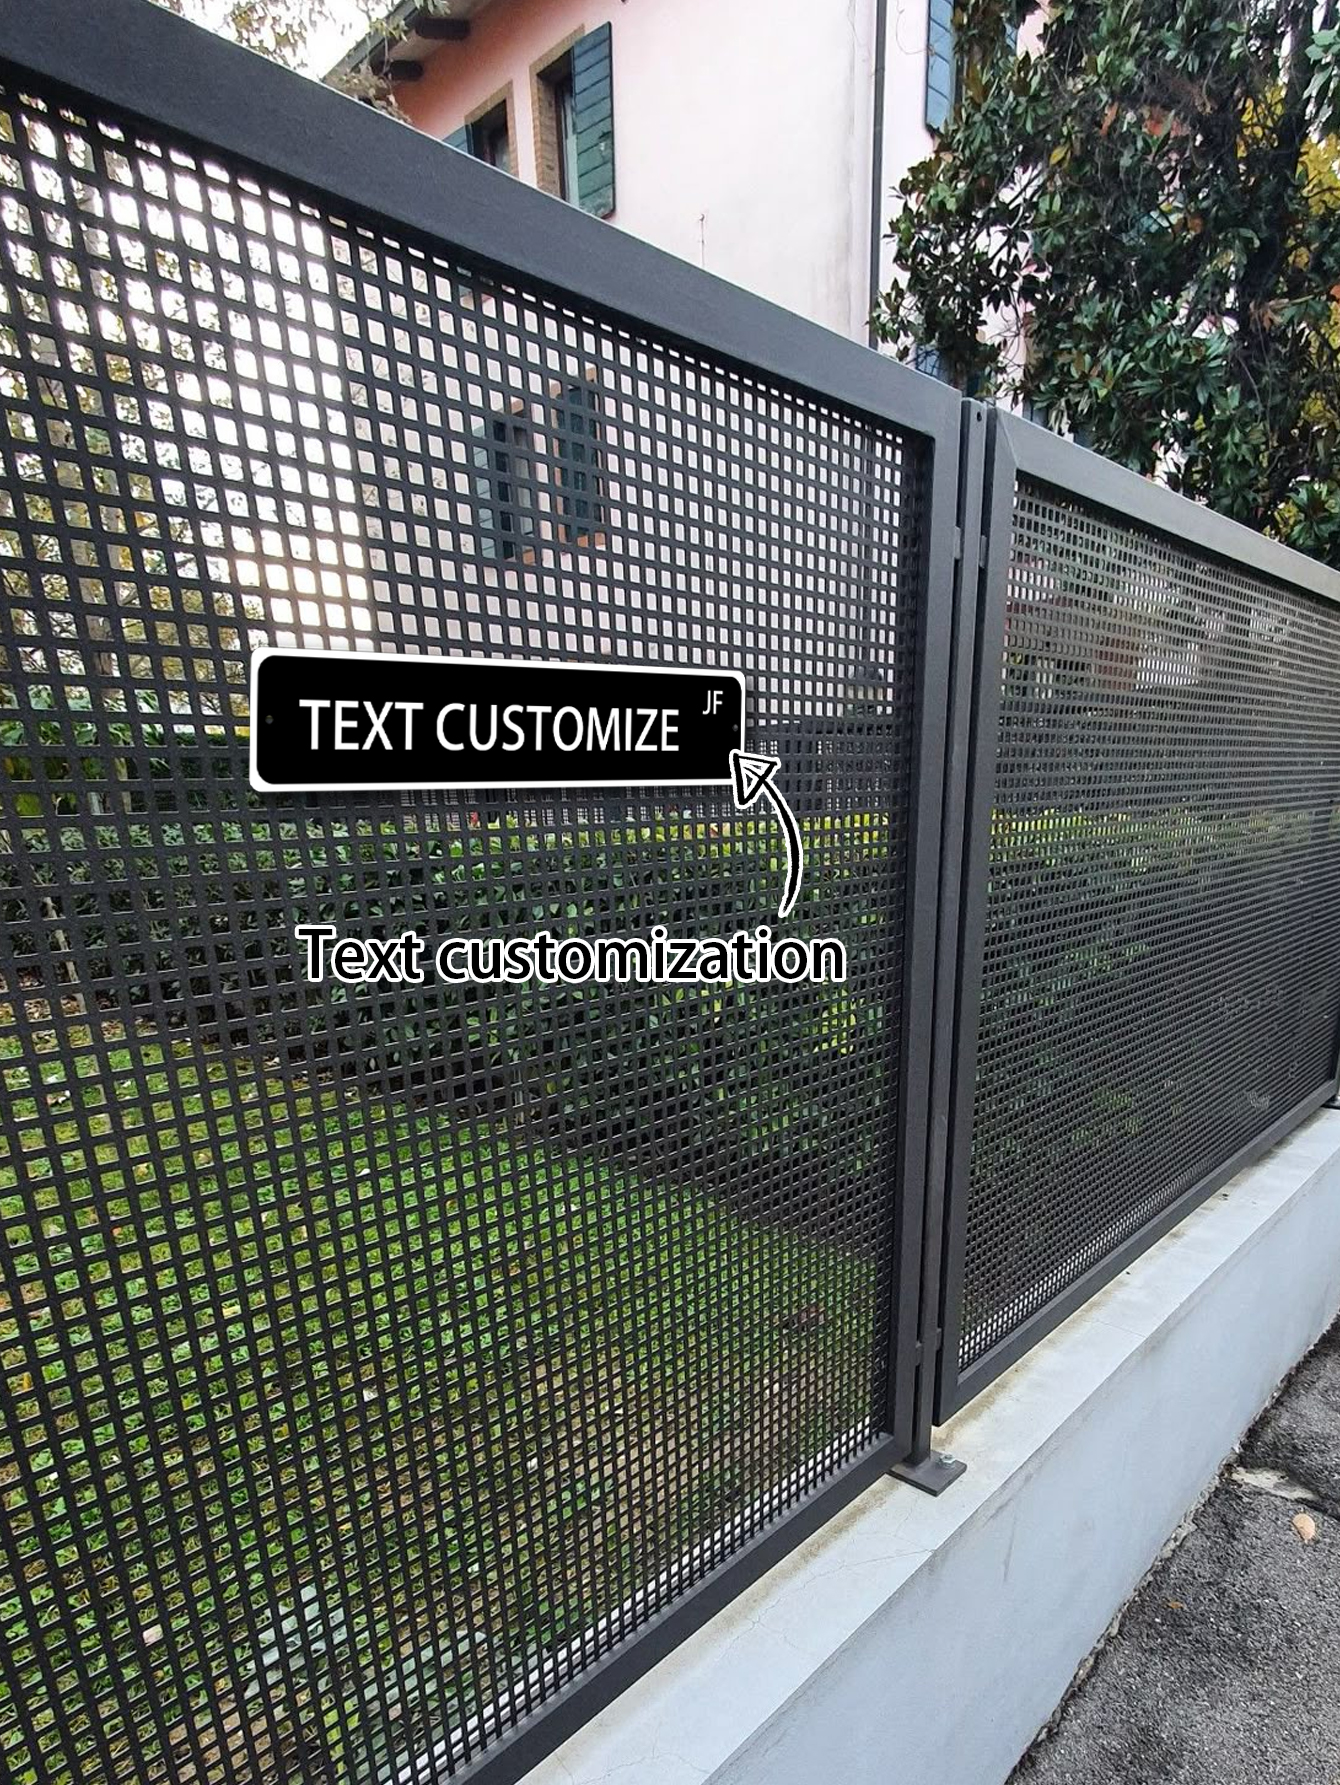
Recommendation: A Personalized Wooden Frame Photo Canvas serves as the ultimate anchor. The texture of the canvas adds artistic depth, while the wooden frame provides a clean, architectural border.
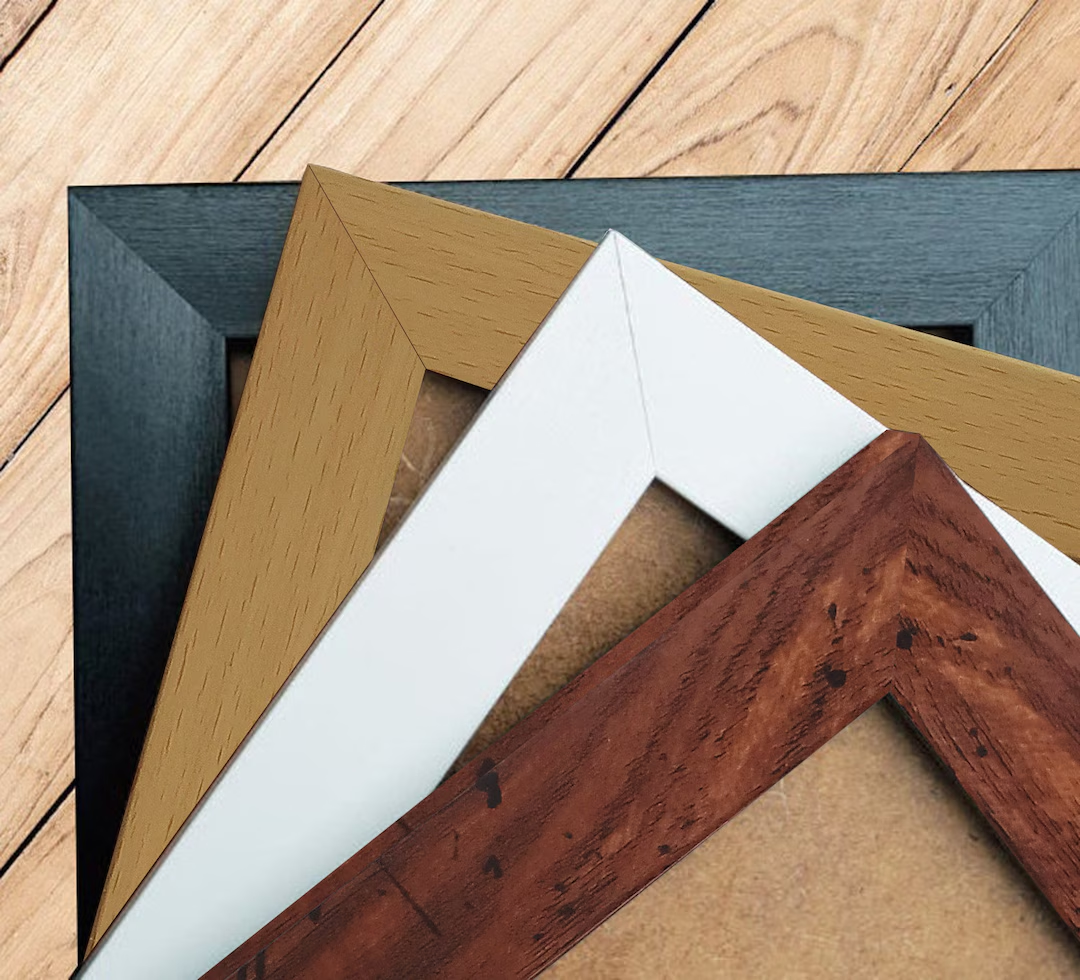
2. Curate a Consistent Color Palette
Mix-and-match can be charming, but too many clashing colors will quickly make a room feel smaller and disorganized.
-
The Pro Tip: Use a "Filter Theme." You don't need to make everything black and white, but aim for a shared undertone—such as warm earth tones, vintage sepias, or bright, airy pastels. This visual thread weaves different memories into a single, professional collection.
-
The Rule of Three: Limit your frame materials to a maximum of three finishes (e.g., black metal, light oak, and white) to maintain a cohesive look.
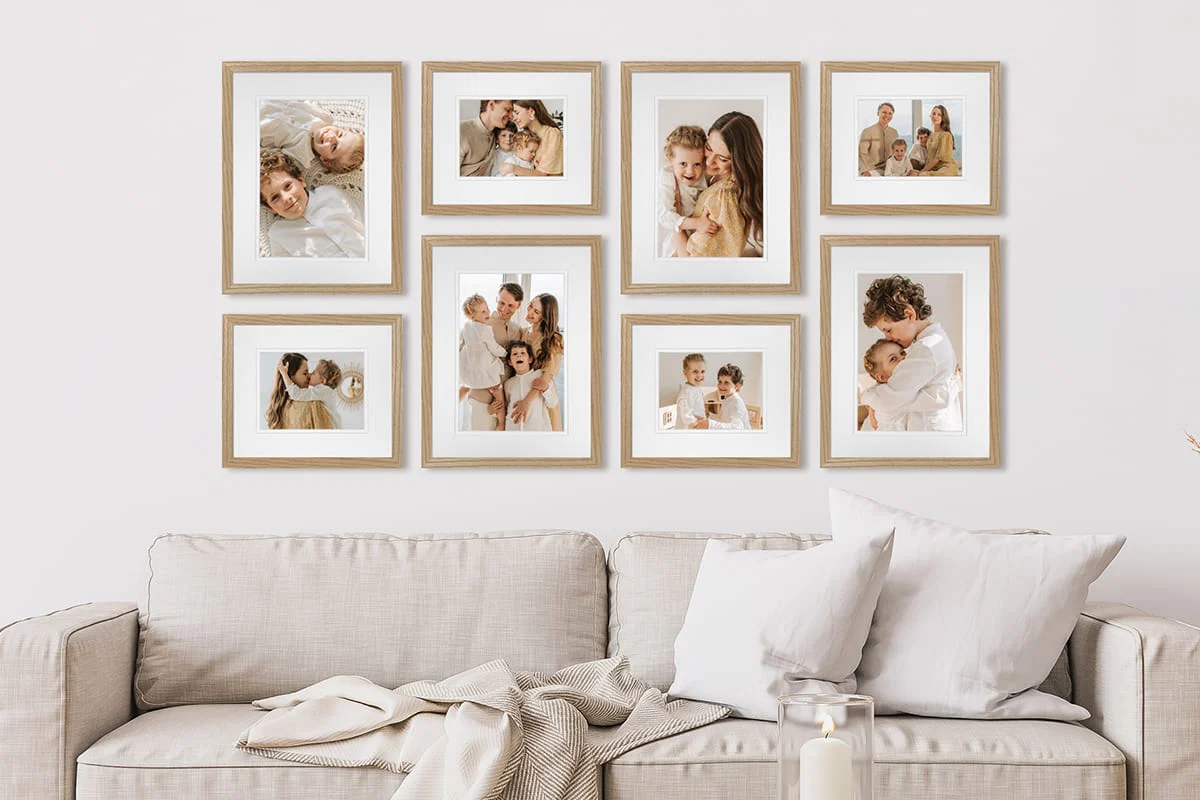
3. Master the "Negative Space"
In professional design, what you don’t put on the wall is just as important as what you do. "Breathing room" prevents the display from feeling heavy or claustrophobic.
-
The Pro Tip: Maintain a consistent gap of 2 to 3 inches between each item.
-
The Eye-Level Rule: Always hang your gallery so the center of the display is at "Gallery Height"—roughly 57 to 60 inches (145-150cm) from the floor. This aligns with the natural human line of sight.
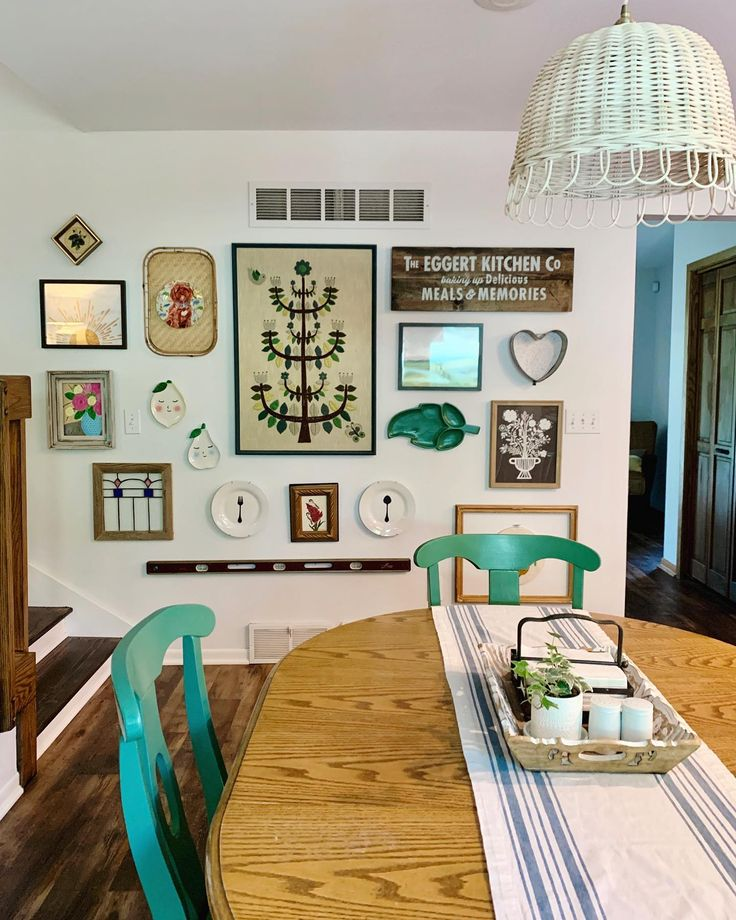
4. Create "Micro-Galleries" in Unexpected Spaces
Memories shouldn’t be confined to the hallway or living room. To avoid cluttering one single wall, distribute your stories into functional, unexpected corners of your home.
-
The Pro Tip: Transform utilitarian surfaces into sleek mini-galleries. The kitchen, for instance, can be a place of daily inspiration rather than just a workspace.
-
Recommendation: Swap messy paper scraps for Acrylic Photo Magnets or Pixar-Style Photo Magnets on your fridge. Their borderless design allows the photos to "float," offering a clean, minimalist look that traditional plastic frames can't match.
5. Add a 3D Dimension (The Texture Mix)
A flat wall can feel static. To achieve a "designer touch," break the monotony by mixing 2D frames with 3D tactile objects. This creates layers and makes the room feel lived-in yet sophisticated.
-
The Pro Tip: Extend the narrative from the wall to the furniture. Incorporate items nearby that echo the themes in your photos.
-
Recommendation: If your wall features family travel photos, place a Personalized Big Head Photo Pillow on the nearby sofa. It bridges the gap between your wall decor and your living space, making the "memory theme" feel intentional, cozy, and high-end.
Final Thoughts: Your Story, Curated
Your home should be a reflection of your journey. By selecting a few high-quality, personalized pieces and giving them the space they need to breathe, you create an environment that is both deeply sentimental and aesthetically sharp.
Ready to curate your space? [Explore our Home & Living Collection] to find the perfect canvas, minimalist magnets, and custom accents to begin your clutter-free memory wall today.